• Cast Iron
7 Steps to Seasoning Cast Iron

Reviewed by Senior Editor
Last Updated January 2024

For the longest time, I refrained from purchasing cast iron cookware due to my uncertainty about being able to properly season it. I believed that cookware should be low-maintenance and require minimal effort, right?
However, once I recognized the importance of having cast iron in my collection of cookware, I understood that I needed to learn how to properly care for it. To my pleasant surprise, I discovered that the process of seasoning cast iron is actually quite simple.
First, what is seasoning cast iron?
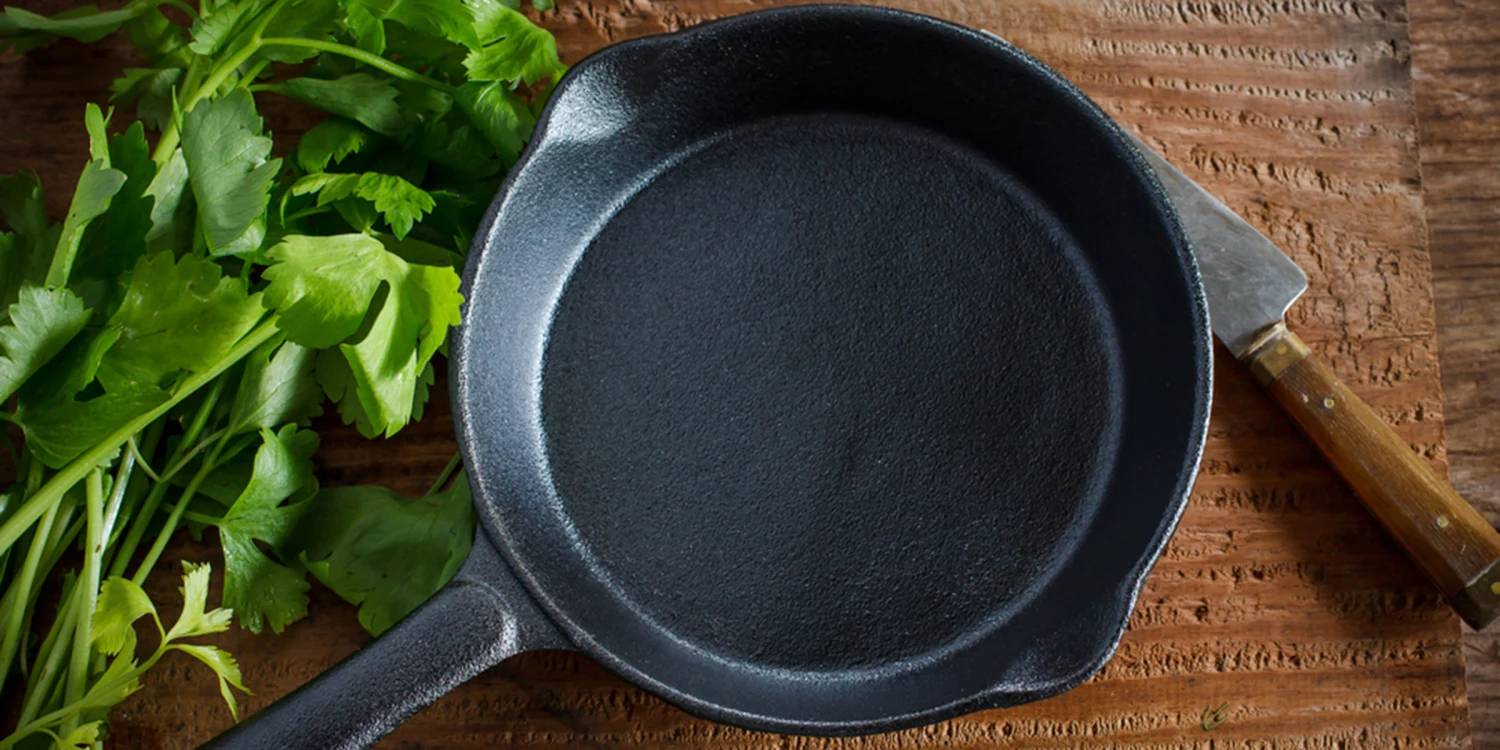
Seasoning is the process of treating the surface of a saucepan, wok, crepe griddle or other cooking vessel with a stick-resistant coating formed from polymerized fat and oil on the surface.
Why do you need to season a cast iron pot?
To begin with, it is essential to have a clear understanding of what cast iron entails. Cast iron cookware is manufactured by pouring molten metal into a mold and is primarily composed of iron (97-98%) and 2-3% carbon. However, it is important to note that iron has a tendency to rust when exposed to the environment.
The first reason for seasoning cast iron is to prevent rusting. Unlike other cooking materials such as stainless steel or aluminum, cast iron is highly porous. This means that it has minuscule holes on its surface through which liquids or air can pass. Seasoning involves a technical process of 'baking' oil into these porous surfaces, allowing the oil to penetrate the pores and form a smooth layer. Over time, repeated layers of seasoning create a naturally non-stick surface that facilitates easy release of food from the pan.
Another important reason to season cast iron is to create a naturally non-stick layer on the pan, which not only prevents food from sticking but also safeguards the iron from rusting.
Seasoning cast iron – 7 steps
Assuming you are re-seasoning a skillet that is already in use, follow these steps to ensure proper seasoning:
1. Begin by thoroughly cleaning the skillet with hot water and soap. If necessary, use a stiff brush to remove any stubborn residue. The goal is to completely strip the surface of the pan. Rinse the skillet afterwards.
2. Make sure to thoroughly dry the surface of the pan before proceeding.
3. Coat both the inside and outside of the skillet with melted saturated fat such as lard, Crisco, or coconut oil. It is important to choose a fat with a high smoke point, so avoid using olive oil or butter. Alternatively, you can use any cooking oil, although traditionally melted saturated fat was recommended.
4. Wipe off any excess grease from the skillet.
5. Preheat your oven to 400°F and place the skillet upside down on the top rack. To catch any excess grease, you can place aluminum foil at the bottom of the oven.
6. Bake the skillet for at least one hour to allow the seasoning to set.
7. Once the baking time is complete, turn off the oven and let the skillet cool to room temperature inside the oven. This cooling process may take several hours.
Congratulations! You have successfully seasoned your cast iron cookware. By following the instructions for ongoing care, your skillet should remain non-stick and rust-free for a long time. If you notice the pan starting to stick or develop a gray, dull color, simply repeat steps 1 to 7 to re-season it.
Ongoing care
Clean the pan promptly after use using a brush and hot water, avoiding the use of soap unless you plan to re-season it. Ensure to dry it thoroughly, as air drying may lead to rusting. Additionally, apply a thin layer of oil while the pan is still warm and store it in a cool, dry place without covering it.
Best choice for cast iron cookware
Lodge cast iron cookware is the top pick for Cookware Advisor due to its exceptional performance and excellent value for money.